Tuesday, July 23, 2013

Self Draft Maxi Dress

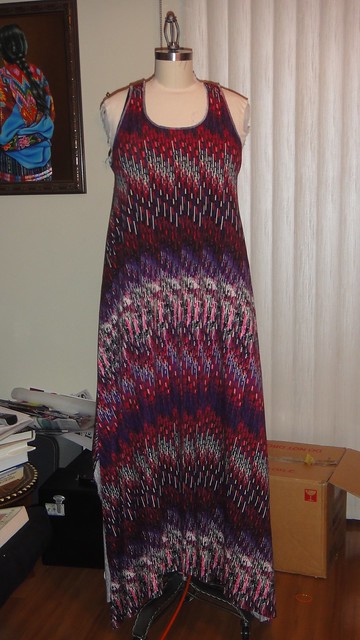
You've seen a million of these this summer, so decided that it might not be a bad idea to make a fall version.  This one has a fuller skirt than most, and can be worn loose or belted.

I already had a good start with a favorite tank top.  I liked the depth of the armholes, neckline and racer back, so this took the guesswork out of the top part.


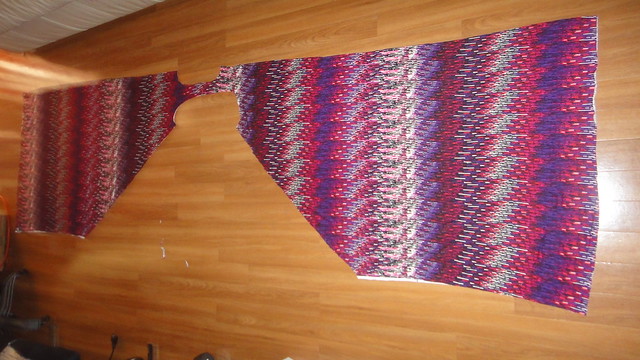
Here's what the pattern looks like. It uses the full width of the fabric, and will need further shaping at the side seams, just a slight taper from armhole to hemline.  In this fabric which is a rayon jersey (thin but with weight and drape), 2 3/4yds were used for a floor length dress.  I would recommend more if you want to shape the hem to floor length, instead of the curved hemline you see here.
Maxi dress pattern


Side seam shaping next....at this point I slipped the dress on and pinned until I liked the silhouette.
Maxi dress

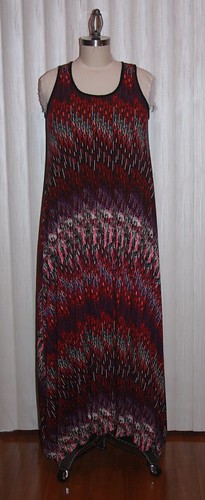
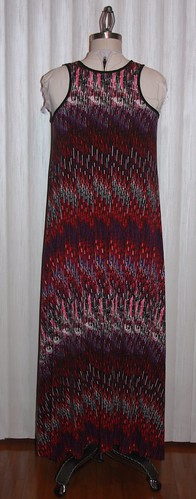
Finished!!  The neck and armholes were finished with a contrast black binding.
002

003

004

It's less of a straight skirt silhouette and more of a tent shape, but the stripes create a nice downward curve on the finished dress. You'll notice that the pattern does not match  Since there is no shoulder seam, and the print has a direction it wasn't possible.  

With a belt

005

Fun and easy first draping project if you are keen to do one. 
Tuesday, July 9, 2013

The Lined Knit Top, Version 1 - Original and Version 2 - 1 Yard Frankenpattern Palmer Pletsch McCalls 6282


 This pattern looks so simple, well it's not really that simple.  It is lined, I like the lining, it cuts down on the clingy property of the poly knit I used.  So you don't see bra markings as you would with say a simple t-shirt.    

Mccalls 6282

The lining and fabric are joined at the neckline to start, then you gather around the center back and side seam waist.  You are told to pull the lining out of the way as you assemble the body, and lastly, you assemble the lining, then you pop in the sleeves.  I will treat the lining and body as one next time, and remove the gathers, just to change things up.  After I posted the review, Pati contacted me to let me know that the pattern could be used with or without the lining (as you will see below).

Here is an interesting detail, that I think many might be squeamish to try, but one of the reasons I like the Palmer Pletsch patterns.  They are mini tutorials.

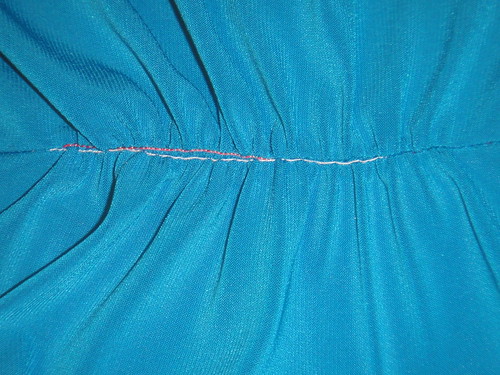
The instructions recommend using contrast colored thread for the shirring.  It's a great idea, since you can see exactly where the stitching line is and it helps you line it up for joining the side seams.

6283

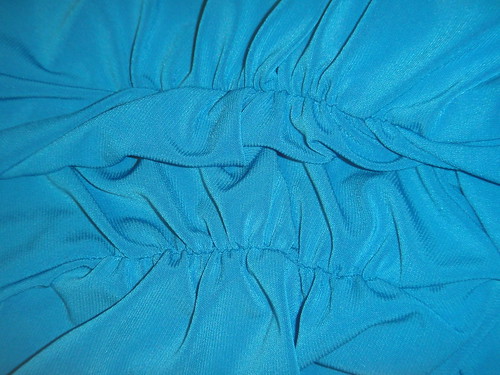
Then you pull it out, which isn't difficult at all, and your gathers are perfect.

6284


The 1 Yard Frankenpattern
I only had 1 yard of this lovely rayon knit and needed to make the pattern fit. I decided to remove the shirring, lining, and made it a cap sleeve. There are 5 pieces to this pattern, when you look at them side by side, the body pieces are longer than the lining. That's because the shirring lengthens the piece.


Front Pieces

For the front, I traced off the body piece, from the side seam notch up (armhole, neckline), and the lining piece from the side seam notch down. This gives me the fold over for the cowl (for a clean finish), and eliminates the shirring.


 I used the lining piece for the back of the t shirt.


The sleeve piece I placed on the fabric, as much as I could to capture the cap and 4" down the sleeve seam. I later played with it, folding it up to make it even shorter to get the right sleeve length.  They have a short sleeve option, but I just didn't have enough to make it.

This was a perfect solution for me, because I knew the pattern already fits, I like the armhole and sleeve draft, and it all fit on 1 yard of fabric.

Saturday, June 29, 2013

Palmer Pletsch Boatneck t-shirt Pattern McCalls M6571 With Fitting Instructions

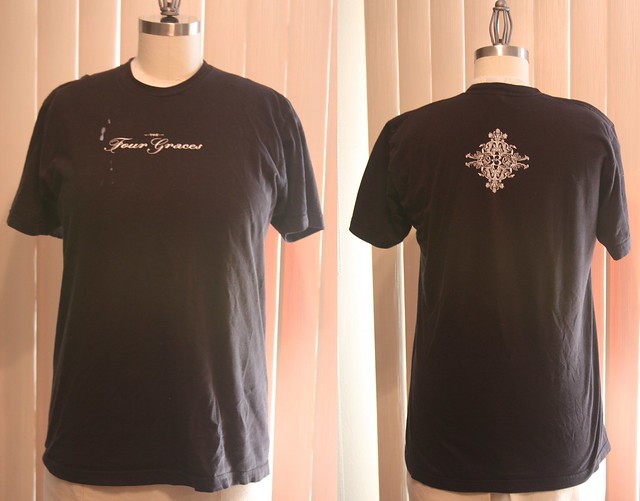
I don't know why people think that knits don't have to be fitted.  Is it because we are so used to this kind of fit, that improving it isn't a priority? 
Example of ill fitting T-shirt

t-shirt

So here's an opportunity to get one version of a t-shirt done to my specifications.

6571  1

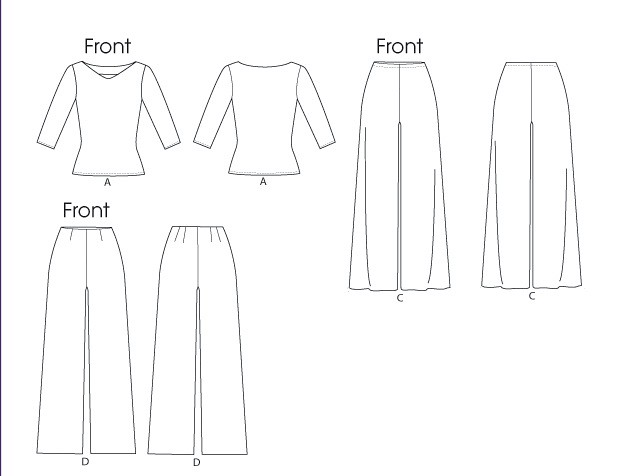
Another Palmer Pletsch pattern from McCalls.  These patterns are fun, they are chock full of fitting instructions, and while the style isn't trendy or cutting edge, it is a classic.  View A is a boatneck with a shallow V  just a little different, view B is more of the classic boatneck, with a slightly rounded neckline.

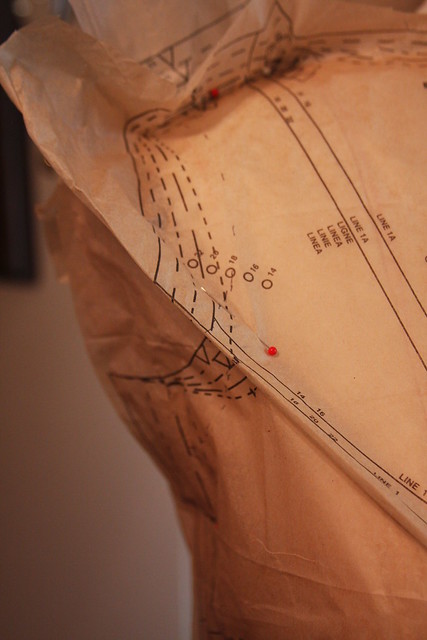
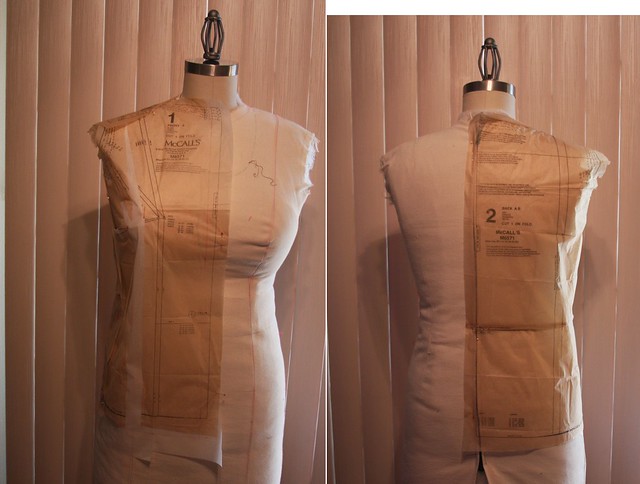
6571 2 first tissue fit

This is exactly how RTW fits, complete with drag lines on the lower back and funky fullness on the front.
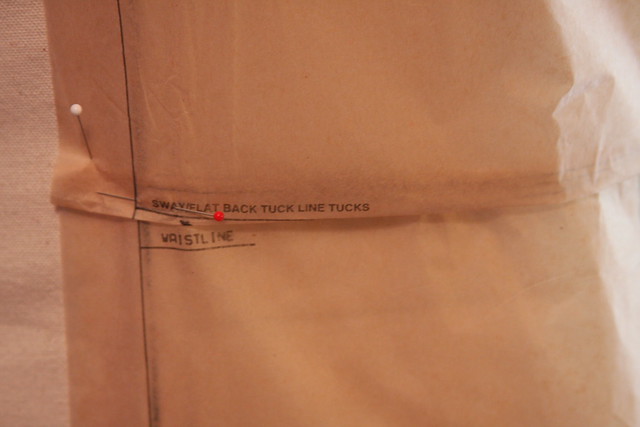
Tackling those issues.... sway back is adjusted.

Sway back

Bust dart is marked
bust dart

Changes are made to the pattern and refitted.

6571 full bust and swayback adjusted

It's only tissue and it's already looking better.
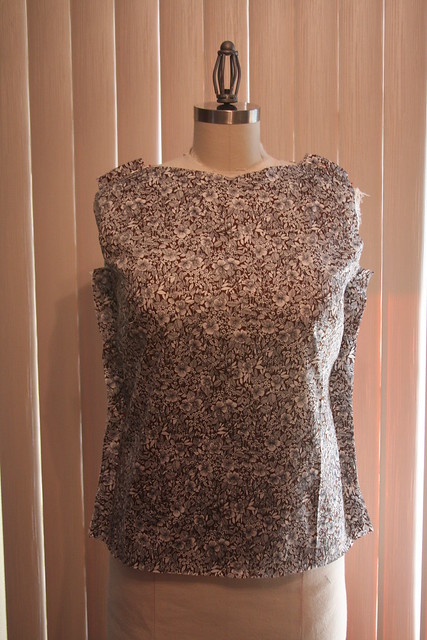
Here we are at the fabric stage, just pinned at the shoulders and sideseams.
6571 cut in fabric

6571 cut in fabric back

Tada!! This will be one of these t-shirts I'll wear until threadbare.  Now I changed the fit from the pattern a bit and made it a little less fitted.  The reason for this is that the knit used is fine cotton lisle, 100% cotton, with no lycra.  I don't know if it will shrink substantially but I've left enough ease to wiggle my way back in after washing.  The neckline on this t-shirt is very flattering, so it will be made again, maybe even today.

McCalls 6571 bateau neckline

McCalls 6571 bateau neckline
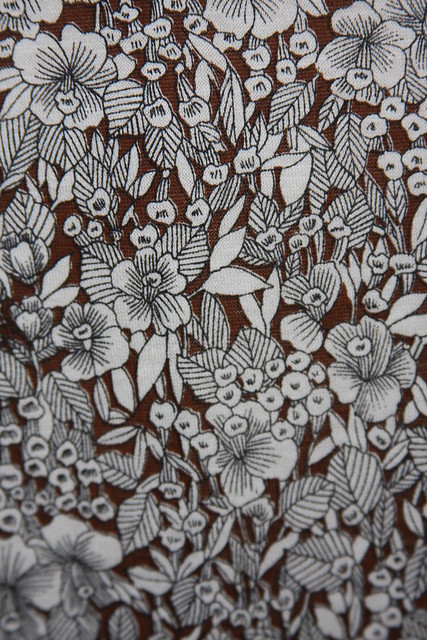
This is the cotton lisle close up.
Cotton Lisle

I liked the facing on this t-shirt, and while I thought it might make it too precious, it gives stability to the neckline and shoulder area, and makes this t-shirt just a little more refined, and it gives the neckline stability.
McCalls 6571 facing

The t-shirt above is view A, (on the left) which has a slight v.  View A (on the right) has a rounded shape but they are both about the same depth.  The pattern comes with 2 pattern pieces for the front, so you don't have to worry about cutting the "v" neckline and destroying the pattern for the rounded version.

McCalls 6571 line drawings
Here is the other view in the pattern which is the classic boatneck.


IMG_6054

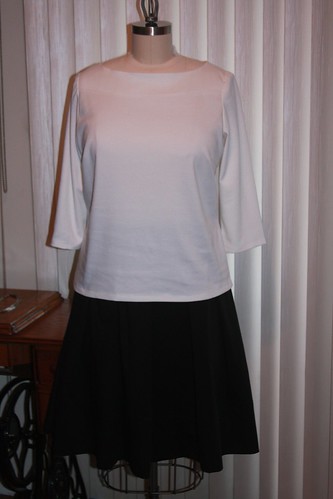
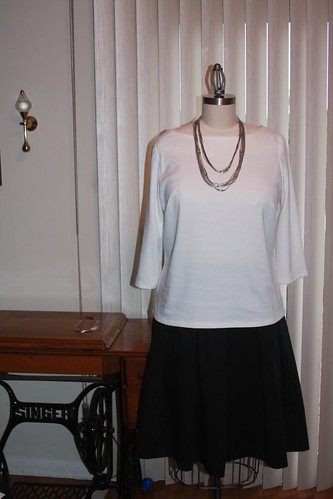
Had to make another to go with my striped pants, but the skirt was on the dressform and I think I'm channeling french casual here.  I just need to go out and buy a baguette and beret!  This is the proper boatneck neckline included in the pattern.  I really like how this is drafted, and have learned a little about not over fitting with this pattern.

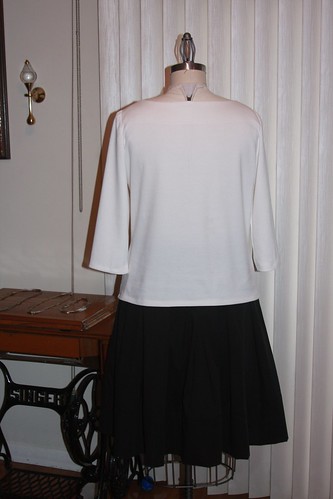
Back
IMG_6057

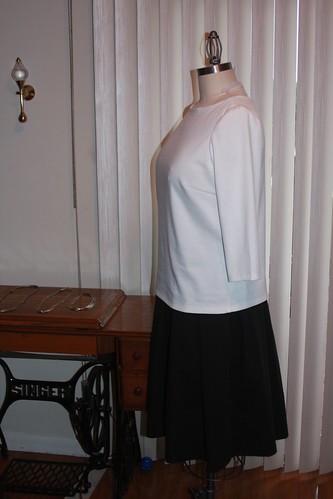
Side
IMG_6059

As a display to show off a necklace.
IMG_6060

The pants are in the next post....