Monday, May 26, 2014

I See Fabric and Potential

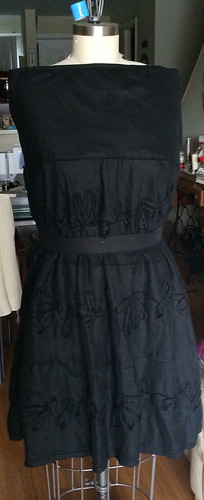
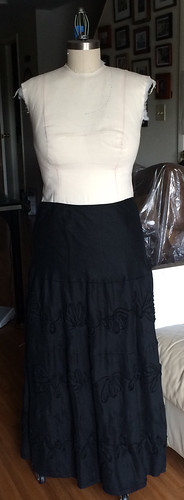
You all know I've been clearing things out of my closet and in my latest charity drop off I made the mistake of going in to the store.  I saw this skirt, and I couldn't see anything except the inky black color (which I am a sucker for), the fiber (linen), and the bias embellishment.... I thought how much would a yard of this cost me?  It followed me home.
image

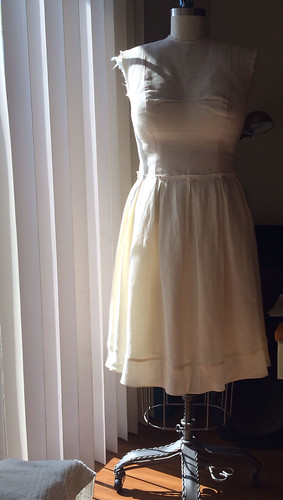
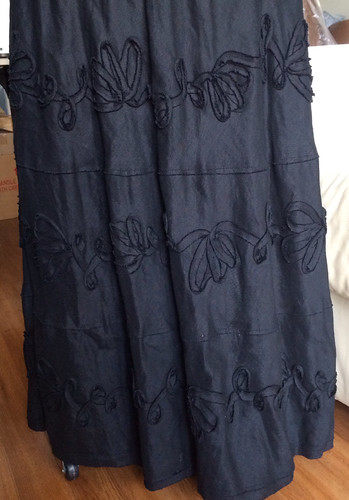
I can't wear it as is, the bias has stretched out and the yoke really looks tired on the body, but fear not, we will make this into something cute.
image

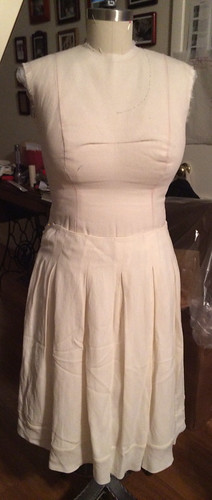
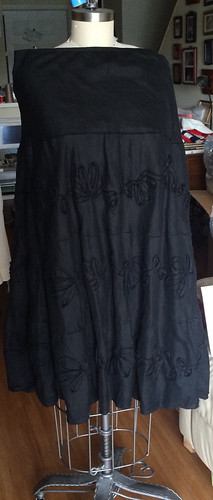
It could be a tent dress, just kidding, see this is where I need your help, I almost considered this.
image

How about if I cinched in the waist?
image

No, no, no.... if it were a silk that would be another story altogether, I have been fooled by this dress form before and it's not getting me again.

OMG put it back together, what have I done?
More tomorrow.....
image


Thursday, May 22, 2014

The Perfect Skirt Length..... another skirt alteration
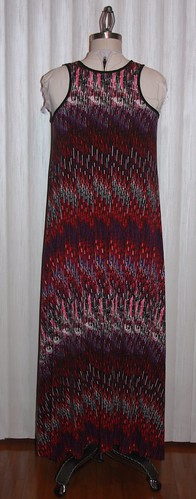
While finishing the pretzel skirt, I stopped at the hem.  It's a pain to hem for oneself, do you have the right length or not?  Once it's stitched, will you go back and rip that hem out because you missed it by 1/2"? I have been guilty of doing that, and find that it comes to haunt me later I thought.... what?  it's not perfect, no way I'm not ripping it out, I have far too much fabric, so many projects to get to, but with every wear I'm reminded that I could have done better.  So here's where we need to stop and be smart about things.  Figure out what your Perfect Skirt Length is first, and pin it up and try it on, then go ahead and finish that puppy off.

I found a blog that explains the information very clearly at Crewsing Thru My 50's  (if you are younger don't be put off by the title, these rules are for everyone.

So armed with that knowledge I used it to hem my pretzel skirt, and my shorts, and now my new circle skirt redo.  You have to remember though that the fuller the hem of the skirt the longer it can be, also if you are wearing it with heels, wear them when you are determining your length.  So my pretzel skirt is a tad shorter than this one.

This is what happens to clothes that sit in bins waiting for alteration, they get a little wrinkled.


image

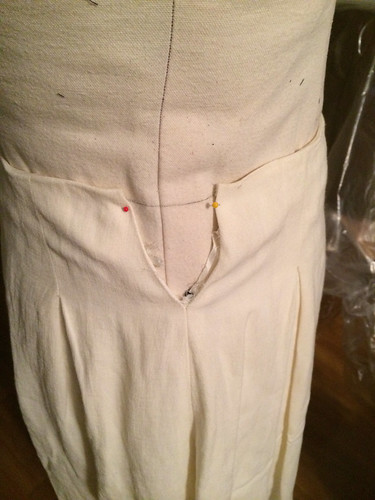
It looks nice enough what's wrong with it? Oh, that's what's wrong.... image

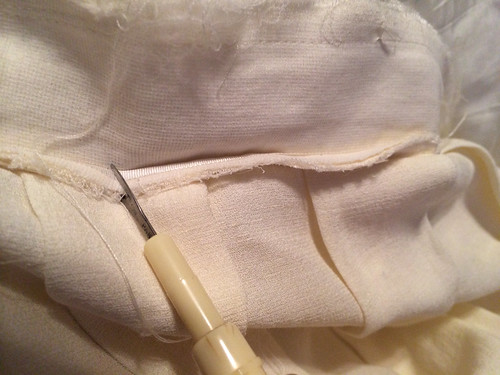
Time to take it apart... Here we have the inside waist area, which shows the same treatment we've all seen in pattern instructions. There's the fabric skirt, and the inside facing (with fusible interfacing)and lining. image
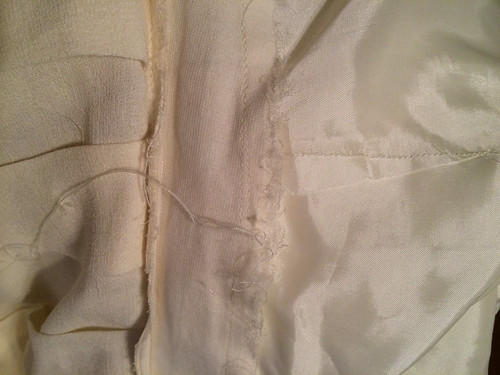
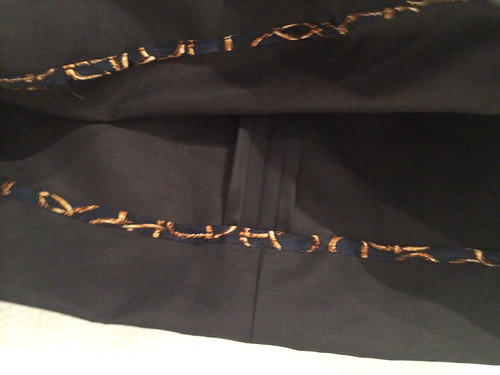
Then we have some interesting construction details... here is the seam binding once again, to stabilize the waist edge.


  image

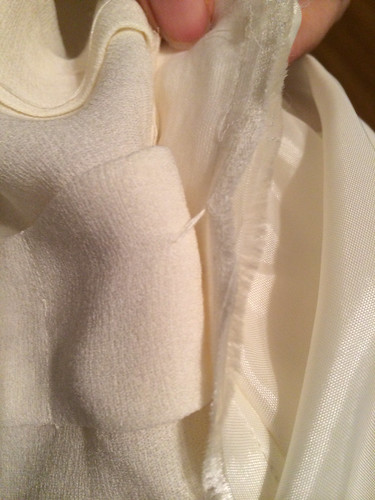
Then we have thread tacks to keep the pleats attached to the waist facing.
image

Draping the skirt.

image

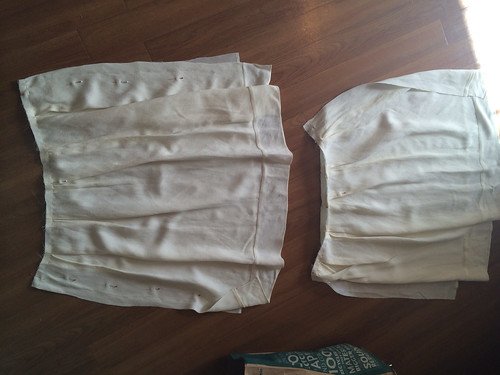
Zipper removed, and waistband shaped... image

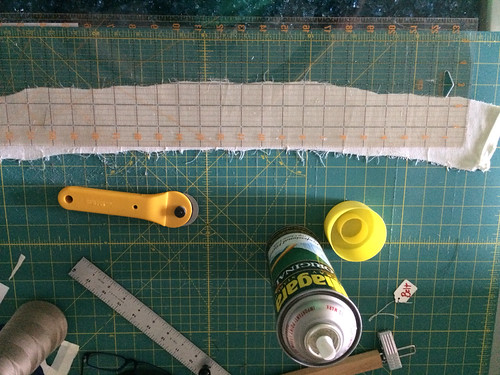
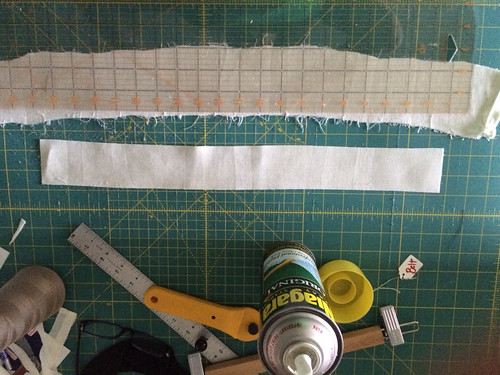
Looking for fabric to finish the waistband.... this is why they say don't bring an item to be altered unless there is plenty of fabric to work with, which is why circle skirts and full skirts are good candidates.

waist band


Iron and trim...
image

New waistbands
image


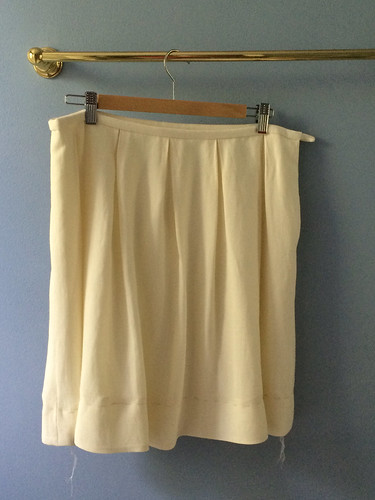
Parking the skirt


The skirt is 99% done, just a waist band hook, and hem away.... and when I find my tapestry needle I can get rid of those thread tails on the lining.  I am stopped now but I am considering what treatment to use on the hem. 
image


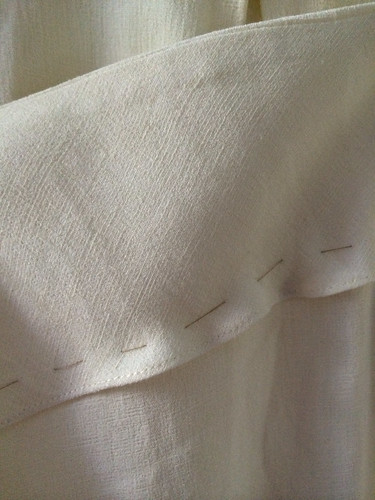
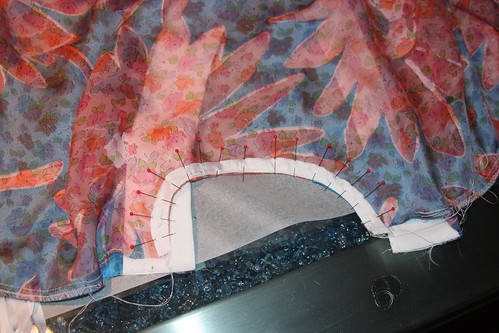
 The bias panel which was attached to the bottom is turned up and basted.  I am curious about how this will wear over time, and if I should abandon the nice wide vintage hem, or trim it back.  I like the weight that is added at the hem, but when they finished the edge off on the bias, the stitching distorted the bias and it has a soft lettuce effect.....

image

... all will be revealed at month end, and you can judge if I've achieved the perfect hem length in these alteration exercises.


Sunday, May 18, 2014

One Option for Altering a Circle Wrap Skirt

Trying to keep the momentum going, since my first attempt at altering the skirt didn't satisfy me, I tried again.
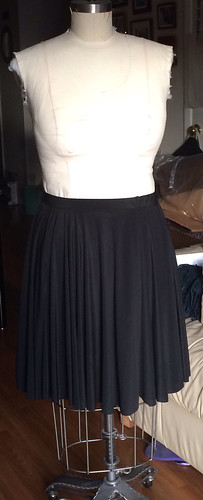
This version has kept the wide hem, but the attached waist sash is now a casing for a 1" elastic, and it is very cute on.


image

I didn't have the space to lay the skirt out and trim the hem properly, it was trimmed while on the dressform.
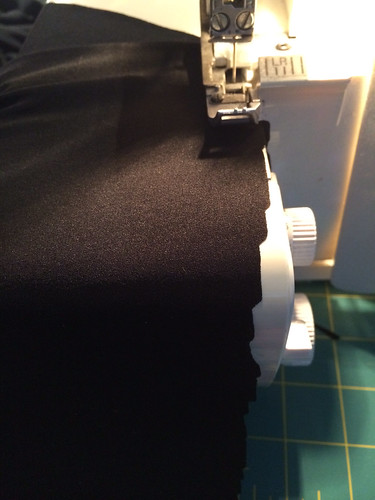
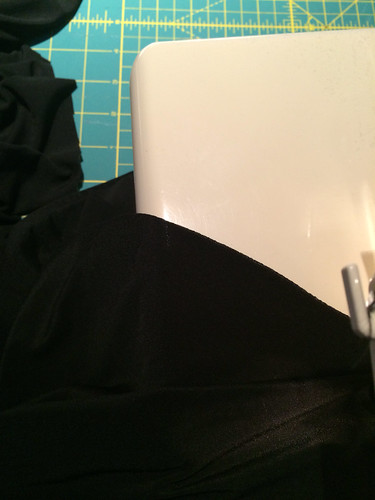
The raggedy edge was tamed by my trusty serger, unthreaded, here are some before and after shots.


image

image

The hem looks razor sharp.


Friday, May 16, 2014

That Lovely Norma Kamali Wrap Circle Skirt.....The Fail & Construction Details

I loved this skirt, it made me feel bohemian, in my youth I wore a lot of full circle skirts, I was thin enough to do so.  Fast forward 20 years and now not so much, so this was one of the garments that I could not part with.  The fabric is a black matte jersey and in perfect condition, but here's the issue.


20 years ago, what a lovely skirt....


Today.... Oh Dear...


Originally there would have been an 8" overlap at the waist, and instead of that lovely long tail at the waist, I have a lovely lumpy knot, and the danger of arrest because the overlap does not exist anymore.

Now, I did remove the waist band, and adjusted the skirt but it no longer suits me.  I am determined to use this fabric because it wears well, it's black and easy to wash.  Here's to the hardheaded among us.

Before I tear into it one last time, I wanted to show you some of the construction details.  This skirt is dead easy (and thrifty... except for the yardage) to make.

The waist band is a single layer, turned in and stitched at the edges.  
The skirt edges are finished in the same way (center front and hem).
(sorry for the blurry pic)
This is the band and center front skirt intersection.


It has a slit in the side seam waist band that is reinforced with topstitching,


There is a rayon tape that is folded in half and attached to the waist piece to stabilize the waistline, the top and bottom is stitched down through the waist and skirt seam allowances.
There is no other interfacing.

The seam allowances aren't even finished, but they don't have to be for stable knits.


So it hasn't worked for me as it, but look what we've learned.


Thursday, May 15, 2014

Shorts for Summer Vogue 2532

This pattern has been around for ages, but I needed a pair of basic shorts that were flat fronts, long enough to cover my legs, and were just a step up from casual to wear with a growing collection of fine gauge knit tops in my wardrobe (that are never worn, until now, yay!).   Vogue 2532 was in the pattern stash, a project that was cut and put away in November, I remember having made my adjustments, (for a flat bottom / sway back,  short rise), so these did not fit me perfectly out of the envelope.  The only thing that bothered me was the length of the zipper, it looks very long, the pattern calls for a 7" zip, and once you add the topstitching it finishes around 8".  I don't know if it's that I've gotten used to the shorter rise, but these fall at the true waist, and took a bit of getting used to.  The pattern also called for tiny slits on the outside seams which I left off.  I do like the style of short, and will wear it for a bit and see if it needs a sister in another color.  The fabric is a Zegna cotton twill, purchased during an online sale at Michael's Fabrics / A Fabric Place.  I purchased just one yard, so was happy to get a garment out of it.


Vogue 2532


Vogue have put out a newer pattern with a contoured waist that might be worth looking into Vogue 9008


Wednesday, May 14, 2014

Why I hate to throw out scraps..... the pantie project

It is apparent now that I have a problem, I worked out that if I sew all of the fabric I have I wouldn't have the closet space to house the wardrobe I would create, especially if I don't even throw out scraps.  Can you blame me though?  Fabric is expensive and I want to use all of it.

Remember this little number?


 I've worn it a lot and have discovered I should have bought more of this fabric because it was a very high quality cotton knit, and it has been washed and dried and not faded, or shrunk. So I am happy that I saved the scrap because it's a perfect candidate for these... now if they only had it in solid white, or black but they didn't, and isn't that always the way.

  cotton lisle pantie 

 So it's not just the cotton knits I hang on to, it's silk scrap as well...

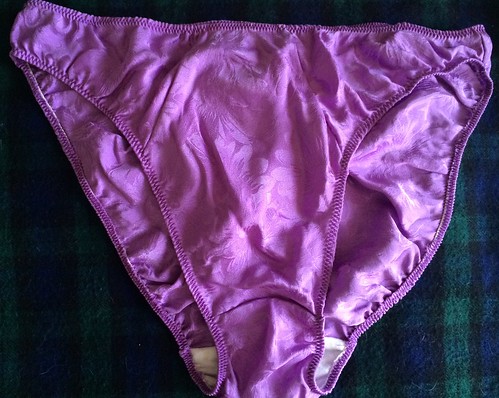
  silk jacquard pantie 

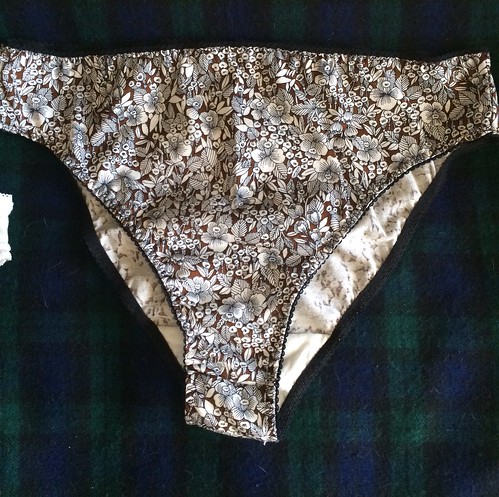
 Well at least I'm getting practice attaching elastic, using new types of elastic. I can throw out some of the tatty panties in the drawer, because these are all natural fibers, and they breath and fit well. Not feeling like hanging onto scrap was such a problem now :)

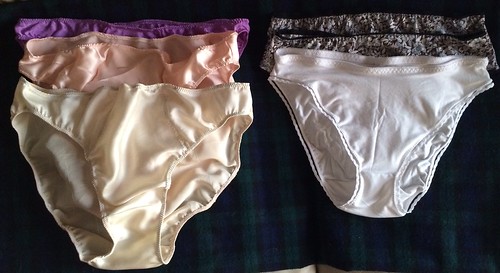
  pantie collection

Have you noticed the ones on the left that are woven look so much larger than the ones on the right that are knit, it's the perfect visual for explaining ease requirements between knits and wovens.

I still have a ton of scraps and I think that June will be Salvation Army pantie time.  I'm sure they'll be happy to get some new ones for the bins, and that will make space for new elastics.... yes hopeless.

Monday, May 12, 2014

My Closet is almost empty....Repurposing ties - The Pretzel Skirt

I know I should feel like I have renewed energy, but I'm not going to lie to you, it was a trial.  Time to start filling the closet up again and building a wardrobe.


 Vogue 1247 - Navy drill
I've made this pattern before about 2 years ago but I think it's a classic and very wearable, once you add 6" to the hem length of the original pattern.  The first version was finished with an overcast stitch on the seam allowances, the pattern calls for a Hong Kong finish.  On the boards at that time 2 years ago, there was some discussion about using tie material for bias, and repurposing the wool flannel that many of the ties have inside for sleeve heads on jackets.  I was finally able to use the ties I had purchased from the Salvation Army for this purpose.


 Here's what I didn't know, how many yards of bias would I be able to get from a tie? I was able to get 4 yards, and 10" of 1 1/2" wide bias.  If you are going to do the same, you will need at least 2 maybe 3 ties to finish this project.  I used all of the tie bias then used lining cut into bias strips to finish the remainder.  I like it on the inside as much as on the outside.  The tie was a funky pretzel print, but since it was cut up, only we know what it was.


image

image

Tuesday, July 23, 2013

Self Draft Maxi Dress

You've seen a million of these this summer, so decided that it might not be a bad idea to make a fall version.  This one has a fuller skirt than most, and can be worn loose or belted.

I already had a good start with a favorite tank top.  I liked the depth of the armholes, neckline and racer back, so this took the guesswork out of the top part.


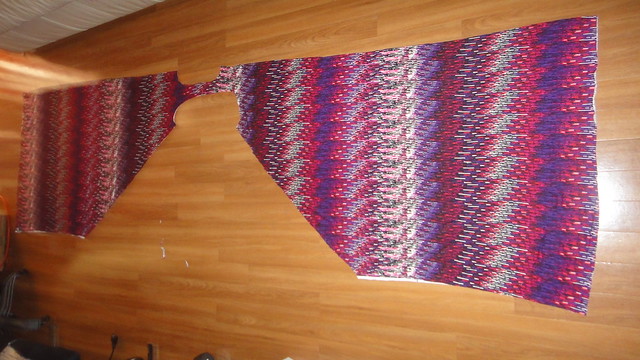
Here's what the pattern looks like. It uses the full width of the fabric, and will need further shaping at the side seams, just a slight taper from armhole to hemline.  In this fabric which is a rayon jersey (thin but with weight and drape), 2 3/4yds were used for a floor length dress.  I would recommend more if you want to shape the hem to floor length, instead of the curved hemline you see here.
Maxi dress pattern


Side seam shaping next....at this point I slipped the dress on and pinned until I liked the silhouette.
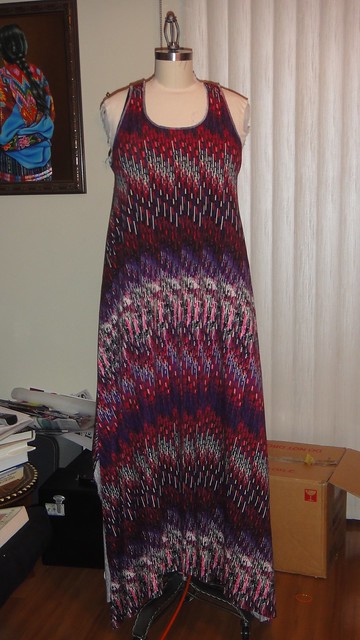
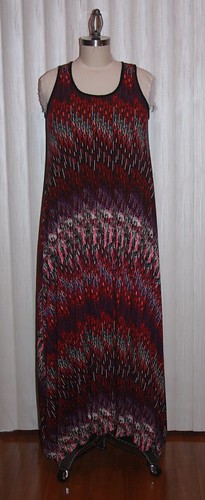
Maxi dress

Finished!!  The neck and armholes were finished with a contrast black binding.
002

003

004

It's less of a straight skirt silhouette and more of a tent shape, but the stripes create a nice downward curve on the finished dress. You'll notice that the pattern does not match  Since there is no shoulder seam, and the print has a direction it wasn't possible.  

With a belt

005

Fun and easy first draping project if you are keen to do one. 

Monday, July 22, 2013

The Kimono Dress Project (Duro Kimono Dress)

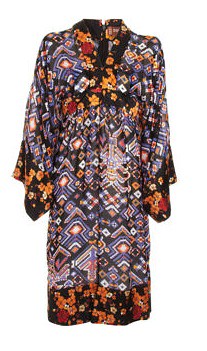
Duro Olowu 2011

Courtesy of Barney's NY.


Duro Olowu won the British Fashion Award in 2005 -New Generation Designer.
You can see his original dress here on Dress A Day.

From NYMagazine.com from his 2007 collection.
"Since arriving on the London fashion scene in 2004, Nigerian-born Duro Olowu has impressed the right people with his vibrant mix of African prints, seventies tailoring, and unlikely color combos. A high-waisted patchwork boho dress—known as the “Duro”—put the brand on the fashion map, and became a cult item in 2005 after being discovered by American Vogue editor Sally Singer and Julie Gilhart of Barneys."

Then there were the other versions...

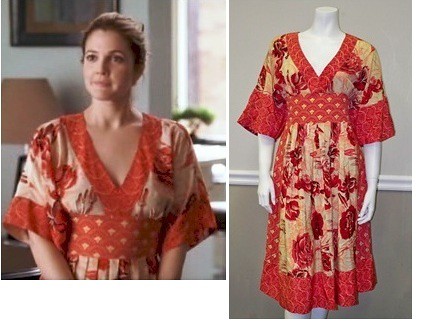
Tracy Reese kimono dress
Drew Barrymore in the movie "Music and Lyrics"

This is the one that made me take notice of the dress, I liked the side panels and contrast fabrics.

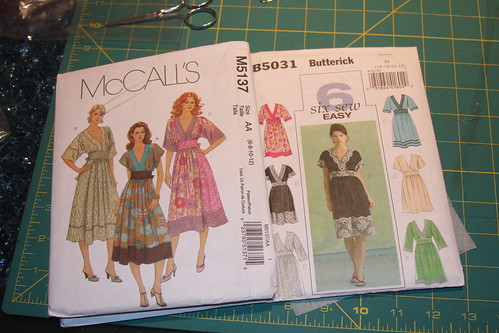
That set me out to look for patterns, and there were a number of bloggers who had already made their own versions using these..

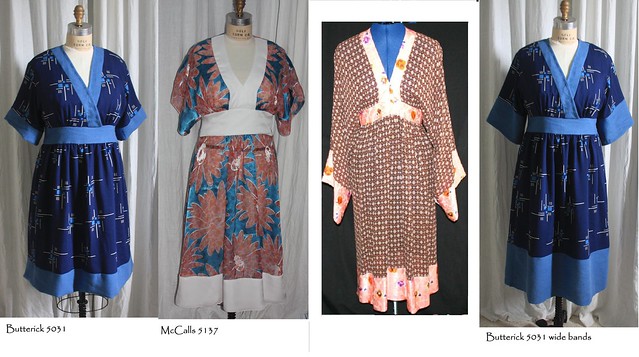
McCall 5137 OOP
Butterick 5031 OOP (but still available on the McCalls website)
Simplicity 4072
Butterick 4849 OOP
Serendipity The Torii Tunic Pattern 

Kimono dress patterns


McCalls 5137

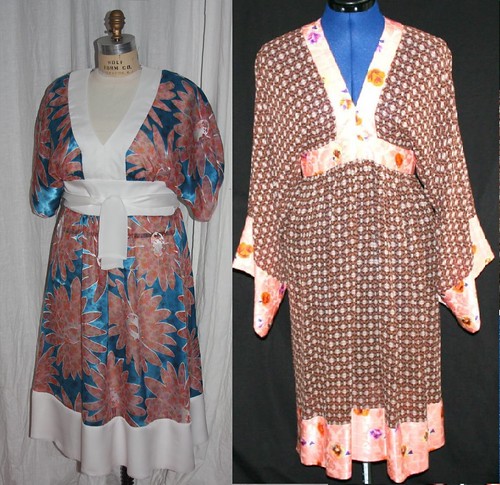
side by side duro McCalls 5137 with band


So how is McCalls 5137 like the Duro?  

It has kimono sleeves, neckband, hem band.


How is it not like the Duro?

The skirt is more A line with a curved hem, the Duro is more like a dirndl the side seams are straight and the hem is straight across with no curve.

The waistband is wider and has a tie, the Duro has a narrower waist band and no tie


The neck facing is wider on the pattern.

There is no back neck facing on the pattern.

There is no option for a long sleeve version on the pattern.


NEXT


Butterick 5031

Kimono's side by side

How is Butterick 5031 like the Duro?


The neckband is closer in width to the original dress

It has kimono sleeves
The hem is straight and the skirt side seam is straight
It has gathering at the skirt under the band
It does not have a tie on the back, but a zipper as the original
It has a long sleeve version

How is it not like the Duro?

The top crosses instead of having a facing
There is no shaping to the waistband
The contrast bands are narrower than the original
It has gathers under the bust over the waist band

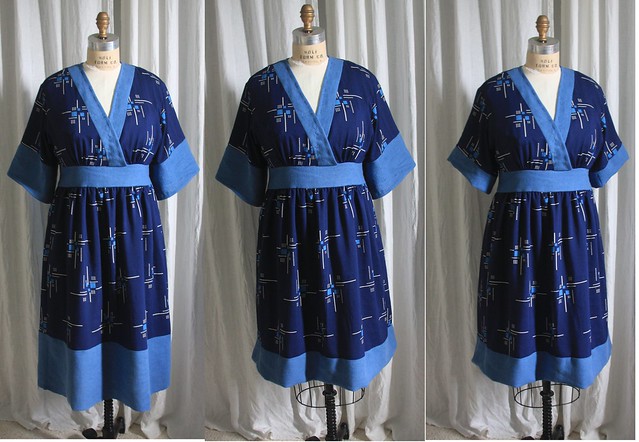
Note: The contrast sleeve and skirt bands on the right photo of Butterick 5031 are not hemmed the pattern was intended to look like the pic on the left.


I played a little with the proportions to see what would suit me best.


kimono proportions

From left to right.
Far left - hems are not folded
Middle - skirt hem is folded
Far right - sleeve and skirt are as originally intended following the pattern instructions.

In the end you have to play until you find what looks best on your body.

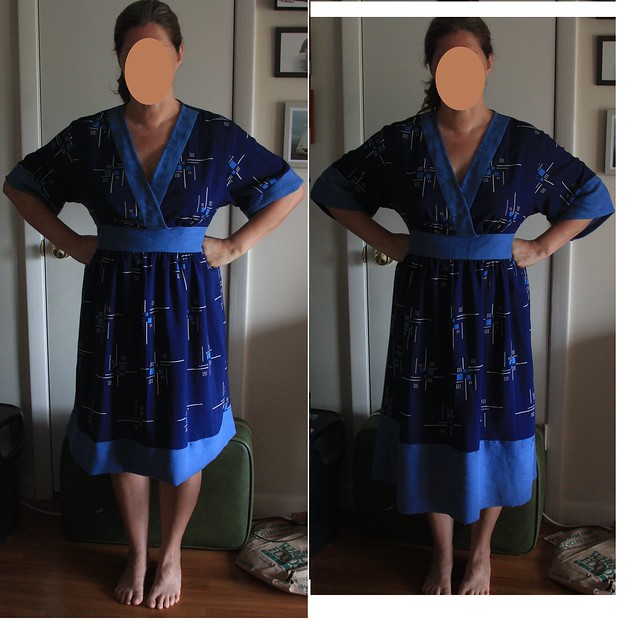
5031 on a body blank


You'll also notice on the Duro, that there are no gathers under the bust, in the Butterick 5031 version it was the same but really didn't suit me at all, so it had to be tweaked.


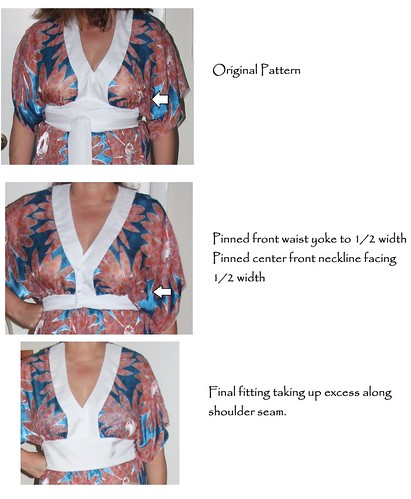
There was something about the bodice fit on the kimono dress that was bothering me. When my arms were down there was excess drape around the breasts. So I played with it a bit, wrapping the tie, playing with the widths on the front facing and yoke, and for this version finally settling on a shoulder adjustment.  The adjustment also improved the unfortunate pattern placement making the two large flowers on the bust area look a little less obvious.

Playing...
bodice fit


Once I pinned the shoulders up, things started to look a bit perkier :), and without the excess it makes the outside bodice line more streamlined, it also resulted in less width at the sleeve opening as well as less of a blouson back. Most Importantly it raised the neckline as well, which was a concern. If this pattern were made in a stiffer cotton, it might be ok.


Added the shoulder slant and shortened the front & back bodice.
008

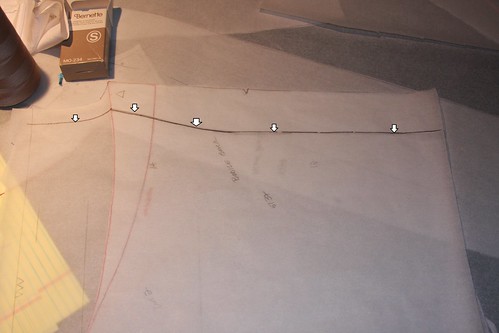
So it meant reworking the back facing
Reworking the facing


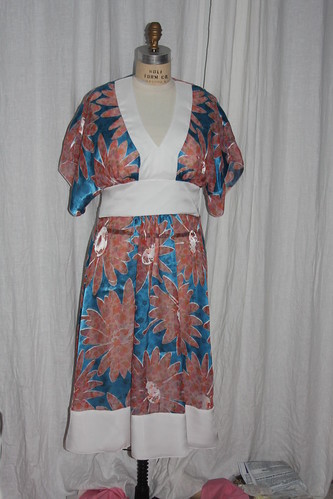
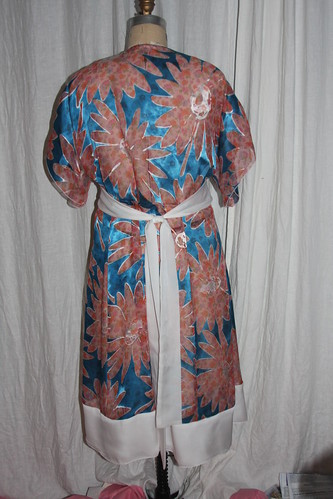
Now we are really finished.
009

012